Ooops!
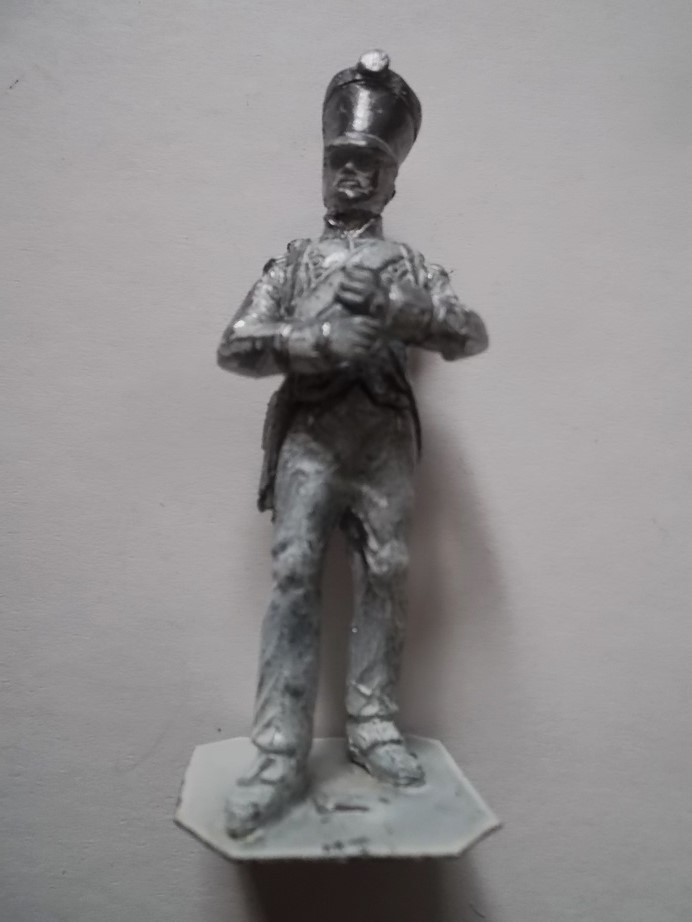
My rendition of the Paris Municipal Guard, which served in the Iberian Peninsula has been a rather humbling one. I typically prime my figure and then undercoat with a thinned brown wash to accentuate detail and naturally deepen the color of recessed areas. This is all well and good for typical French or British uniforms, and my intention was to paint these in the early war green coats with red facings, but in the end I decided to go with the later war white uniforms. So now I am painting white over brown, which is a pain, as I like to use thinned paint.
 |
| Here they are ready for painting. Many thanks to Nigel who provided the Hinton Hunt Fusiliers making up the rank and file! |
 |
| Old Guard Grenadiers will serve as the elite companies, as both Grenadiers and Voltigeurs wore the bearskin! |
 |
| I played around with trying a one coat vs a two-coat application of the white, but in the end went with a one coat application that will need to be augmented in raised areas. |
 |
| Here is the battalion in progress with a Grenadier NCO accompanying the eagle bearer as well as a drummer and a Lieutenant from the Grenadier company leading the command section. |
 |
| I've also been playing around with some Grenadiers for a combined regimental Grenadiers force of a light infantry regiment. Here is an unusual uniform but one that is quite plausible, as many grenadier companies did use the colpack, and in this case have replaced their trousers with local Spanish cloth. |
 |
| Here is a French 6 inch howitzer by Hinchliffe from their 20mm equipment line, that I was lucky enough to procure. It is destined to serve in a horse artillery battery. |
Road Trip!
Cindy and I were lucky enough to hit the road last week and go to the Ozarks for a few days. It was a lovely break in the routine!
 |
| Up on the balcony of the Crescent hotel after enjoying a simple pizza dinner. |
 |
| The pizza was meh, but the view was stunning! |
 |
| Spillway creek from Leatherwood Lake. We saw a whole family of river otters here! You can barely make out a Great Blue Heron in the distance. |
 |
| This was a wacky find. Just beyond the damn is an old Civilian Conservation Corps (CCC) stone quarry. Someone had taken the time to make a meditation spiral with the loose stones! |
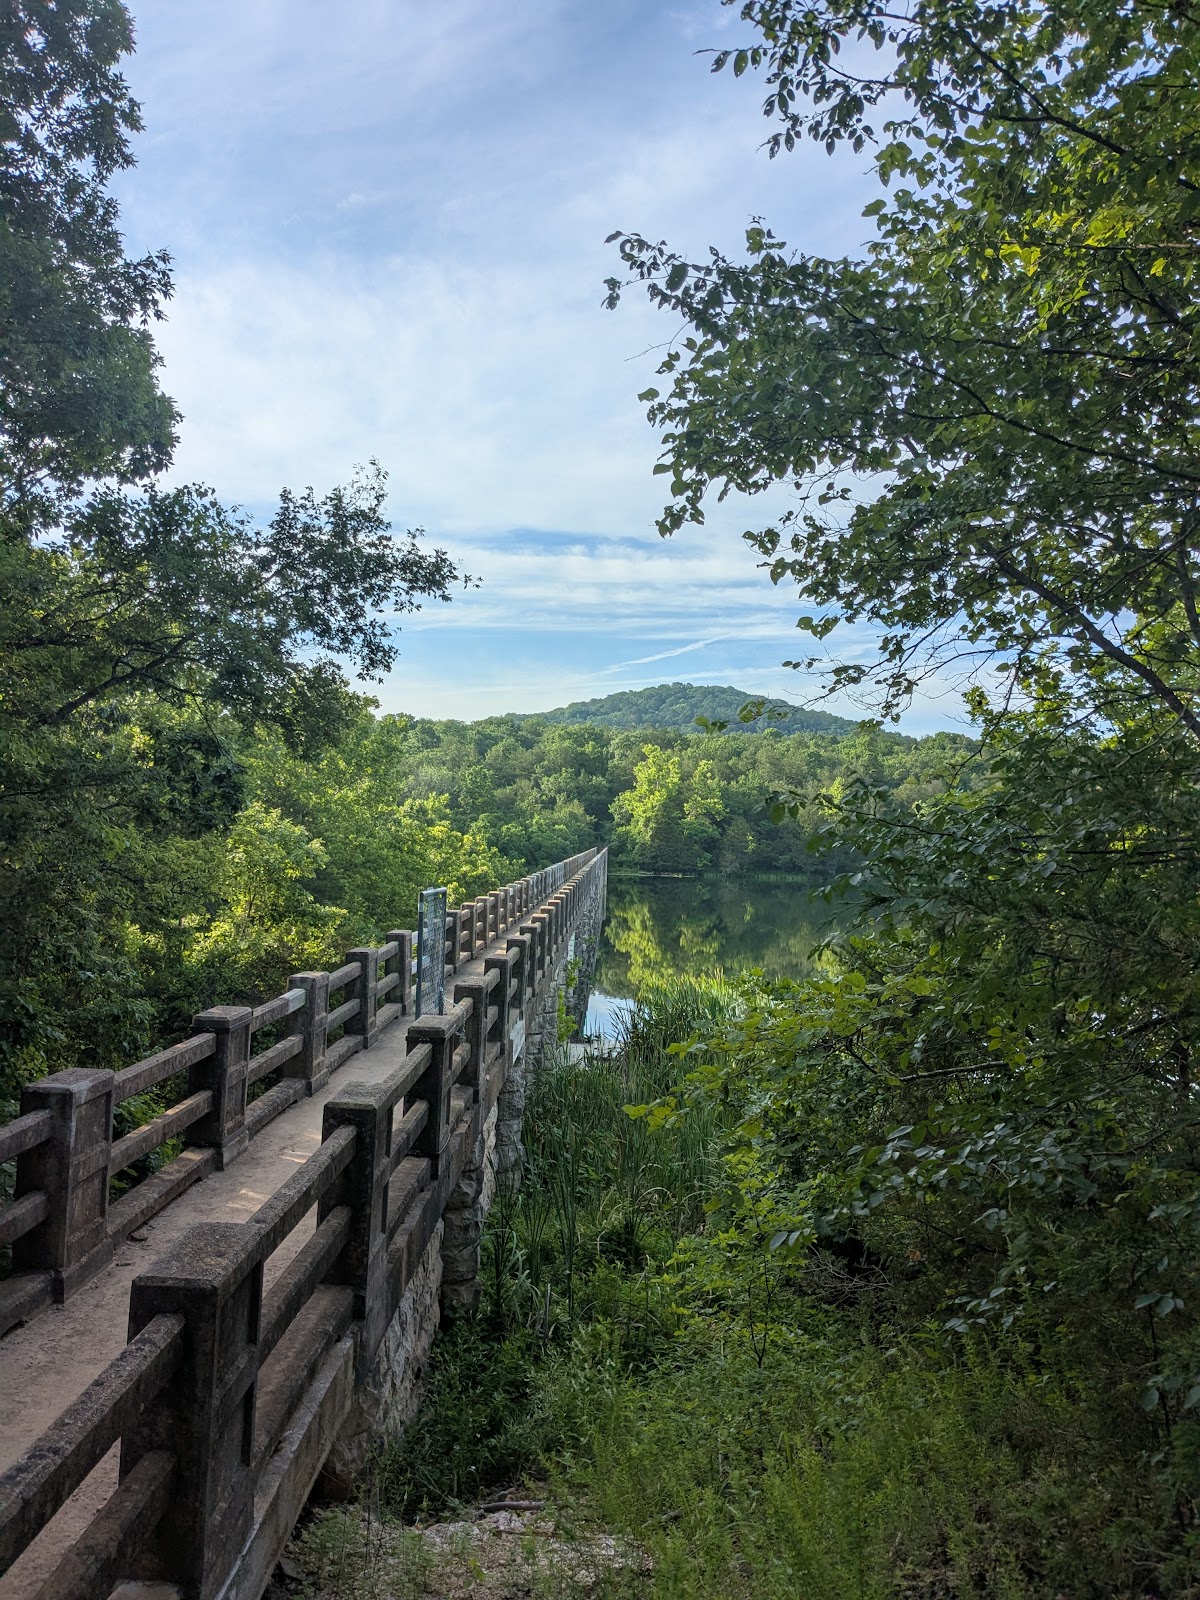 |
| The path above the damn. The damn itself was a beautiful affair made from quarried stone. |
 |
| A lovely dinner on the back porch of our B&B with deer grazing below us. |
 |
| Elkhorn Tavern at the Pea Ridge National Battlefield. I knew nothing about this battle and we just stumbled upon the battlefield. The park is huge and was the sight of a large civil war battle that by and large decided the contest west of the Mississippi for the Union. The tavern served as a hospital for both sides. The current building is a reproduction, as the original was burned by the confederate army. |
 |
| Cindy enjoyed the impromptu tour of the battlefield, and honestly, the park had some of the most beautiful vistas we were to see during the whole trip! |
OK, Enough Distractions - Back to Painting!